We are excited to introduce to you the Import tool with our step-by-step guide to transfer you safely to the brand-new SolusVM 2. Let’s jump right into it.
Reasons to Import your VMs to SolusVM 2
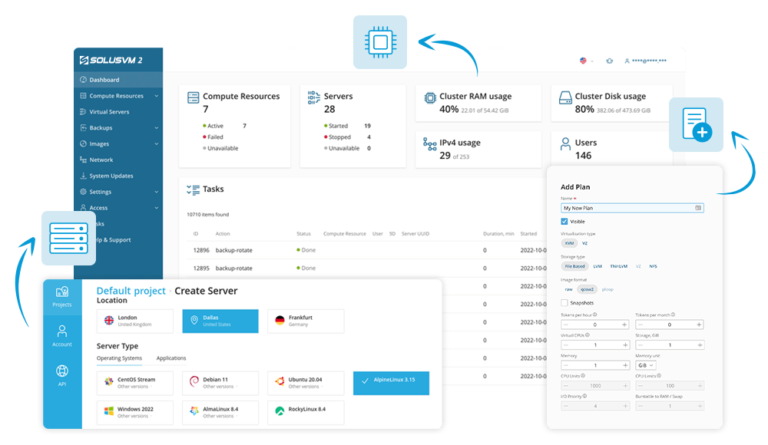
SolusVM 2 was created on the latest modern stack technology to provide you with a Modern UI and Self-Care portal for admin and end-users, enabling you to save time on end-user support and unlocking options to offer application-centric services.
- Attract new customers
- Upgrade your end-customer interface with a modern and clear UI in line with modern standards like DigitalOcean.
- Increase reliability with backup integrated solutions available out of the box
- Drive performance with modern stack technology, like Golang, Open vSwitch, and Cloudinit.
- The licensing model and prices remain the same as in SolusVM 1.
Why use SolusVM 2 Import tool?
The SolusVM 2 Import tool eliminates the need to recreate your VMs manually in the SolusVM 2 installations.
- Safe and time-efficient: With the import tool, you are set to import to SolusVM 2 with ease and predictability, fast and effortlessly.
- Customize your strategy: Import only the nodes you want. Your SolusVM control panel will continue to work during and after the import.
- Zero downtime: All VMs will continue to work during and after the importation.

Step-by-step SolusVM 2 Import Tool Guide
- Go to “Cluster Imports”, and then click, “Add”.
- Name your import.
- Provide the IP address or hostname of the SolusVM 1 master node.
- If port 8080 is used on the SolusVM 1 master node, provide a different, available port number. This port will be used in the future by the SolusVM 2 agent.
- By default; the import process runs under the “root” user.
- If you are using a custom SSH port, provide it.
- Provide the private part of an SSH key (only RSA keys are supported) that can be used to log in to the server as the user, specified during step four.
- Click, “Add”.
To import slave node:
9. Go to “Cluster Imports”, find the import process you want to resume, and make sure that its status is, “Prepared”.
10. If the import process was created some time ago, click the “refresh” icon to refresh the information about the
source SolusVM 1 cluster.
11. Click the “start” icon to proceed.
12. Select the slave node(s) you want to import, and then click, “Run”.
!!! Warning
Do not remove any entities (VPSes, clients, etc.) you have imported, either from SolusVM 2 or SolusVM 1, unless, you are prepared to lose them. Imported entities are governed by both SolusVM 2 and SolusVM 1 with full authority. So, deleting an imported VPS in SolusVM 2 does not merely remove it from the SolusVM 2 interface but results in the deletion of the VPS and the loss of all associated data.
!!! Note
You can rerun the import for a slave node that has already been imported. As a result, entities (IP addresses and blocks, plans, customers, etc.) created since the last import will also be imported. Entities that already have been imported will not be re-synced to or updated in SolusVM 2, even if they have changed since the last import.
For more information, you can always visit the SolusVM 2 Import Guide on the documentation portal, or watch the easy to follow Import tool video.
You can also go through the import procedure with assistance from our dedicated support team. We are more than happy to assist with your import. Please contact the SolusVM support team.
We are eager to hear your opinion about SolusVM 2 and its user experience. If you’d like to help improve SolusVM 2, any feedback you provide is much appreciated.